Photographs of Mosaics |
 |
 |
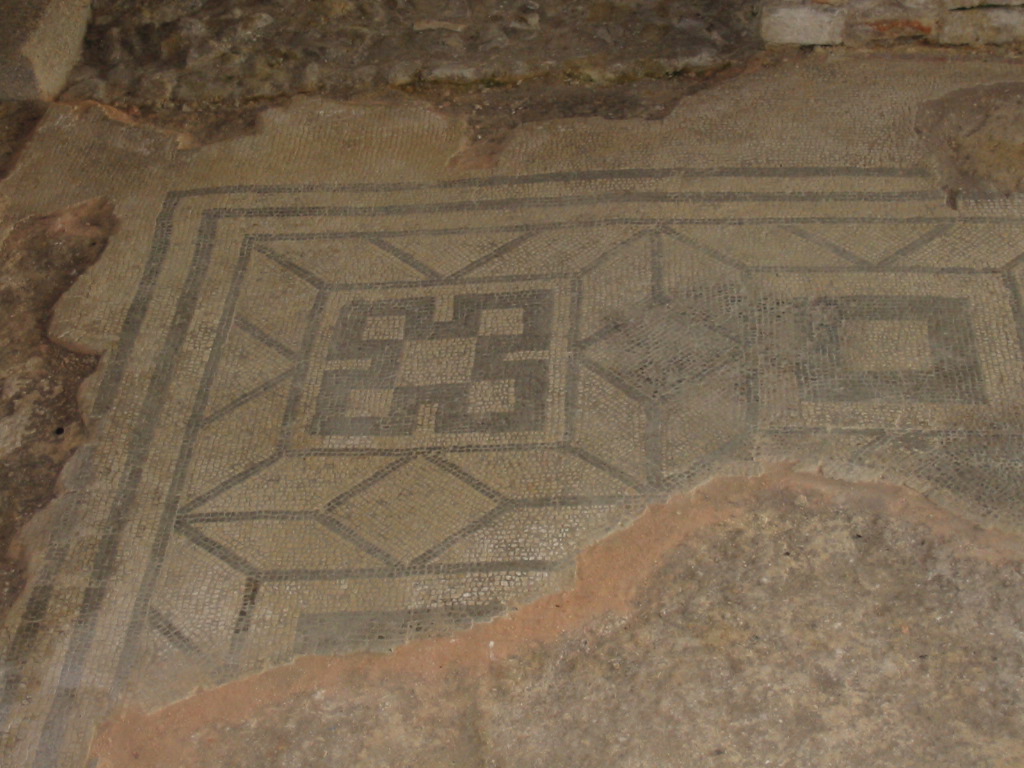
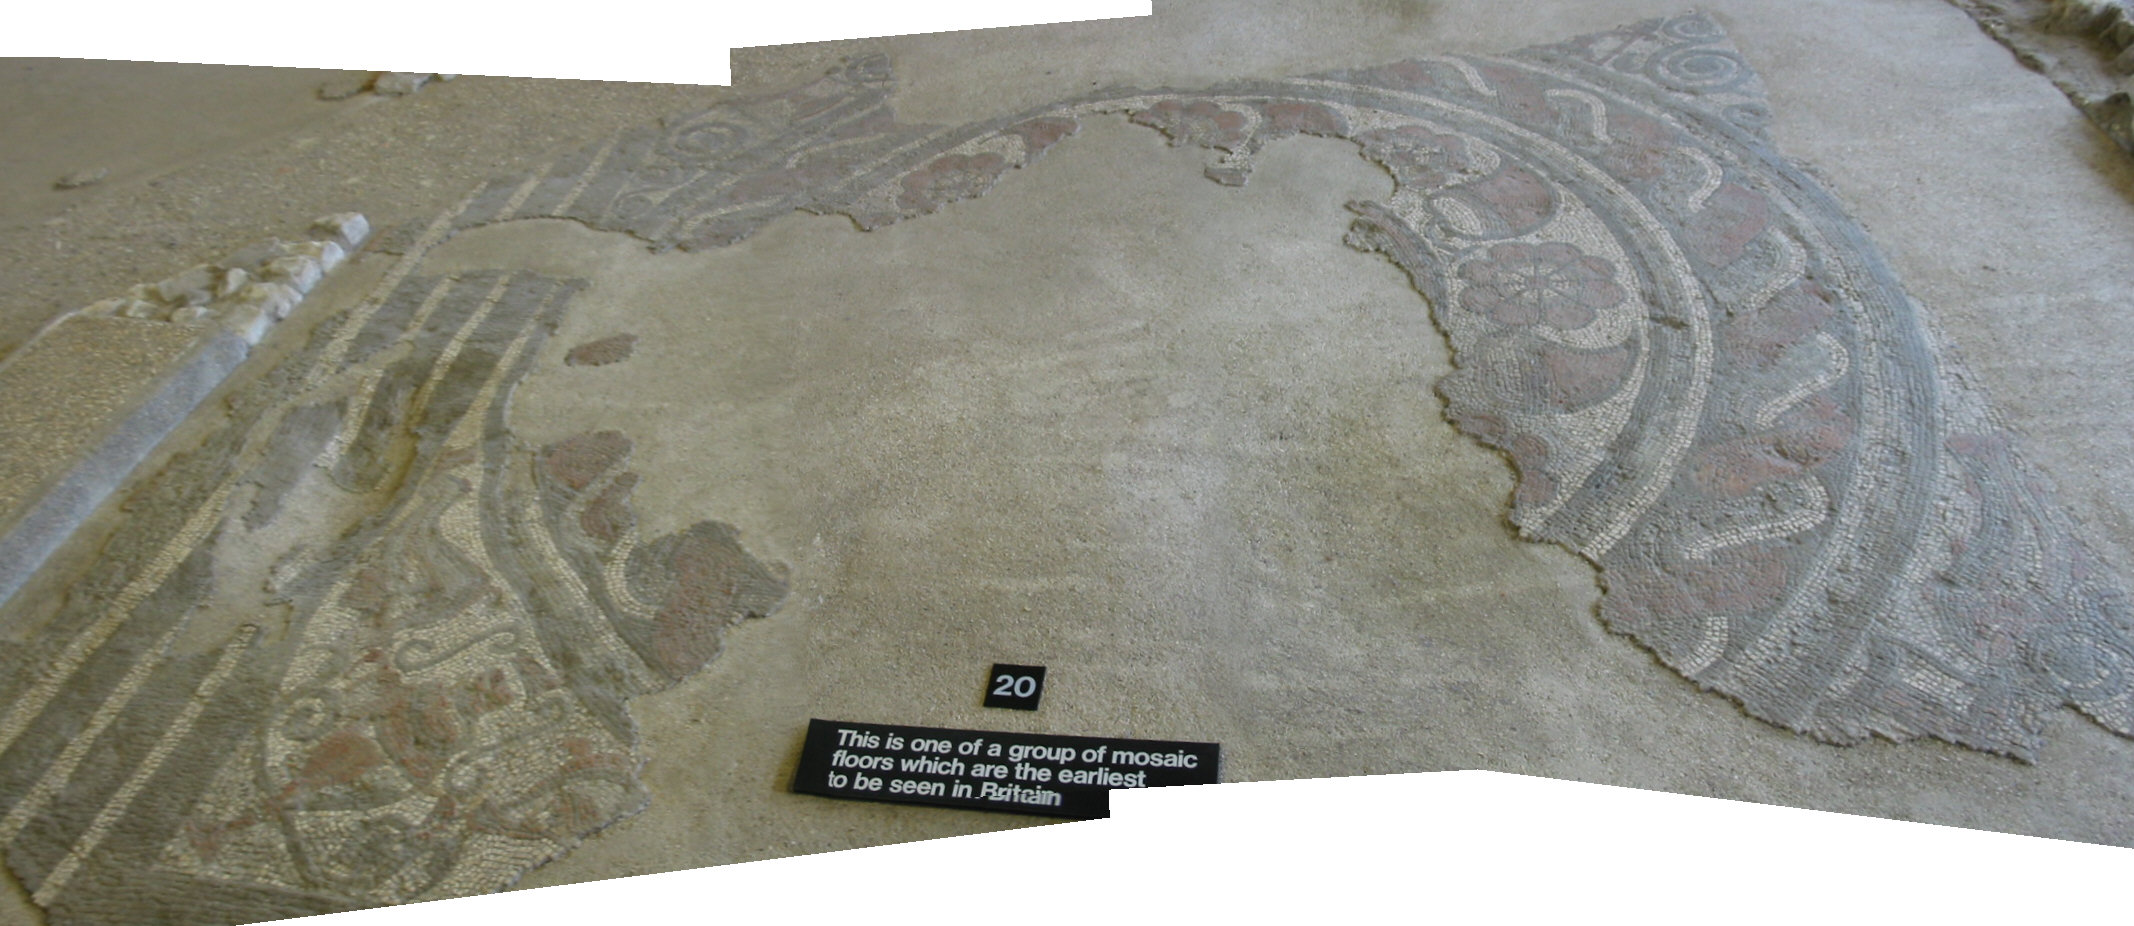
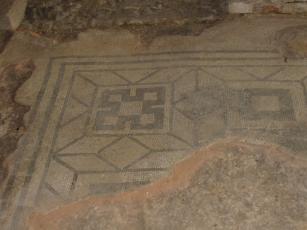
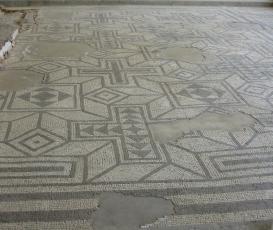
| One of the earliest mosaics in Britain |
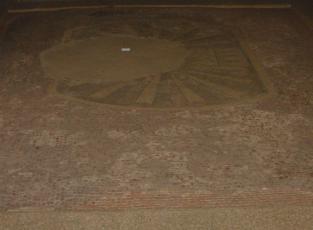
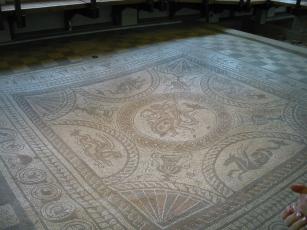
A later mosaic, with the central image being Medusa |
 |
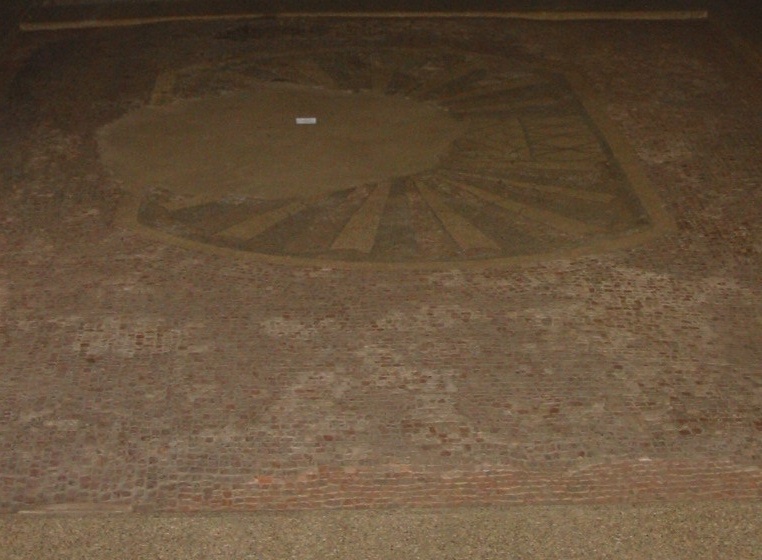
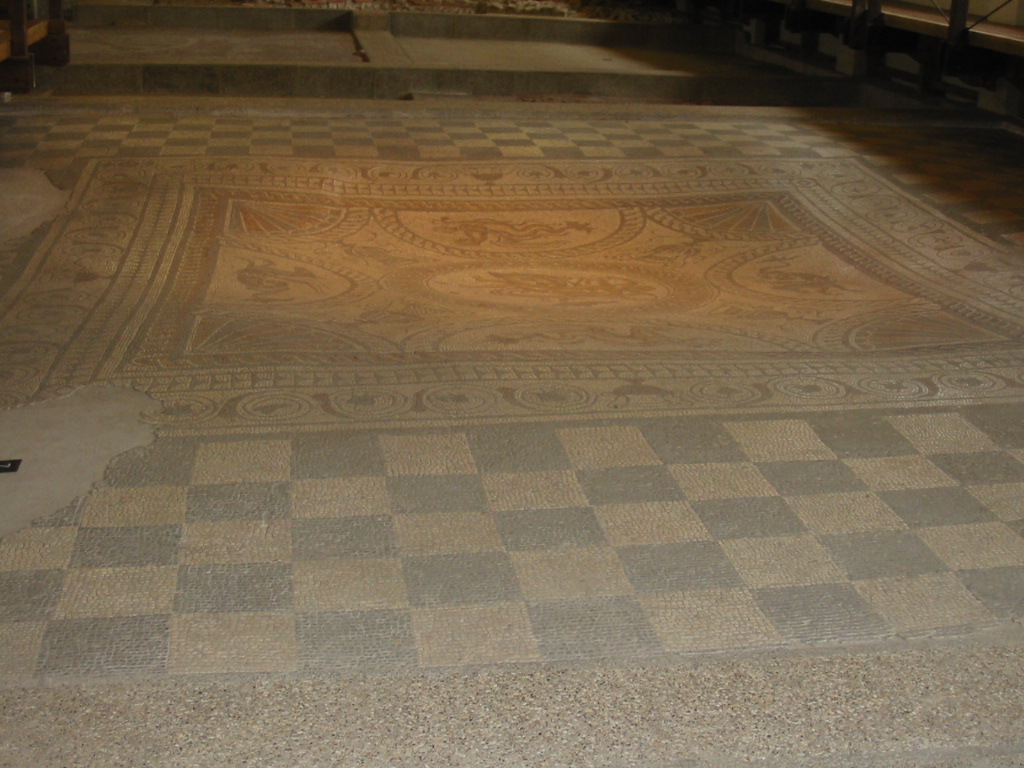
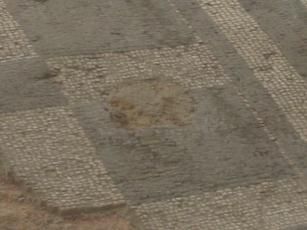
| The remains of the flower mosaic |
 |
 |
 |
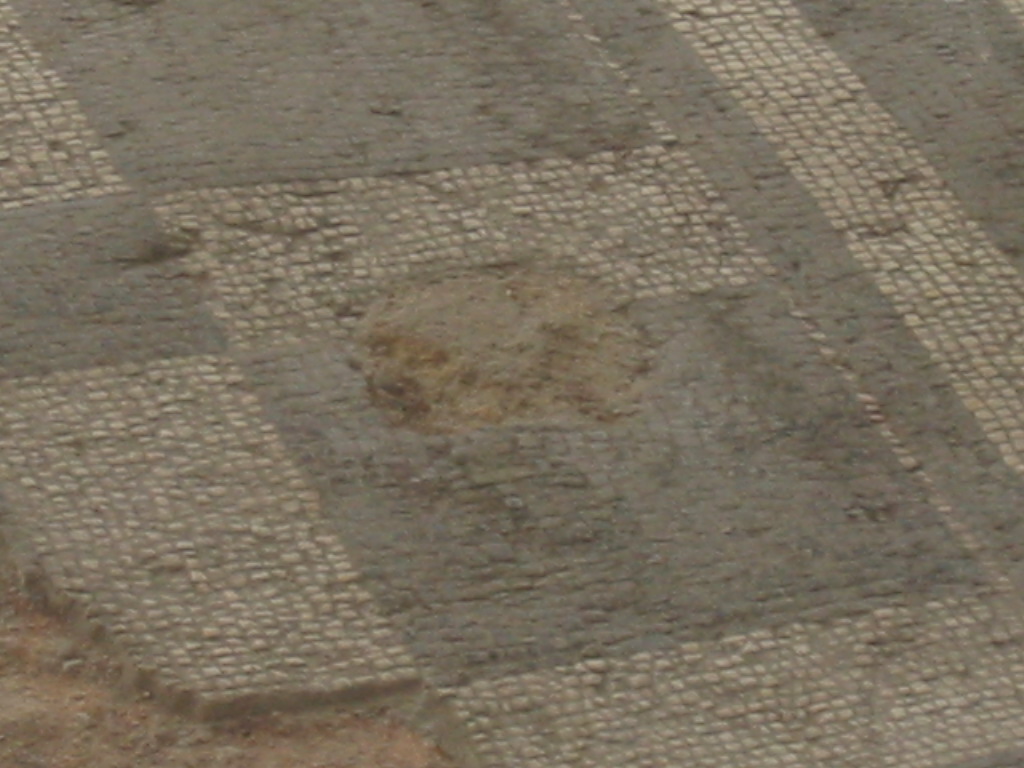
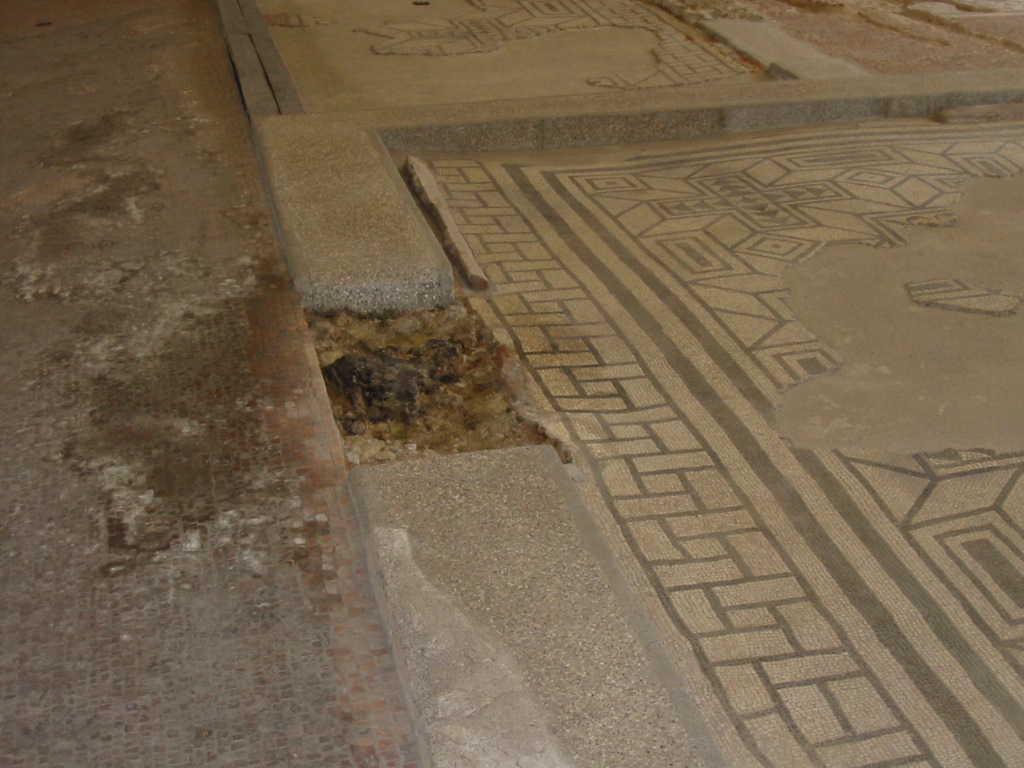
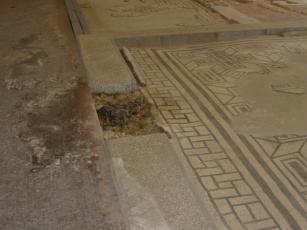
| After this room became a workshop there was no need to replace missing tesserae, just level the floor |
When the subsidence is slow, mosaics proove to be very flexible |
Sometimes mosaics were layed one on top of another, just as is often done with lino |
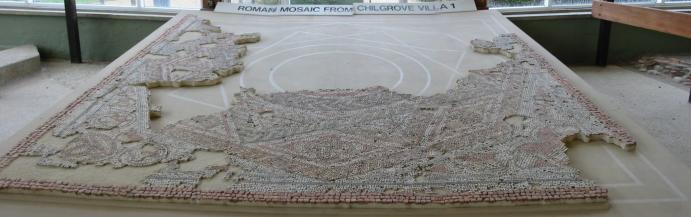 |
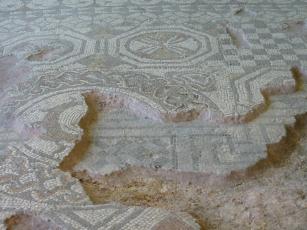
| A mosaic from a villa in Chilgrove Vallley, about 5 miles from Fishbourne |
 |
 |
| A wide and detailed view of a mosaic with confusing perspective, reminiscent of the pictures by M.C. Escher but nearly 2000 years older! |
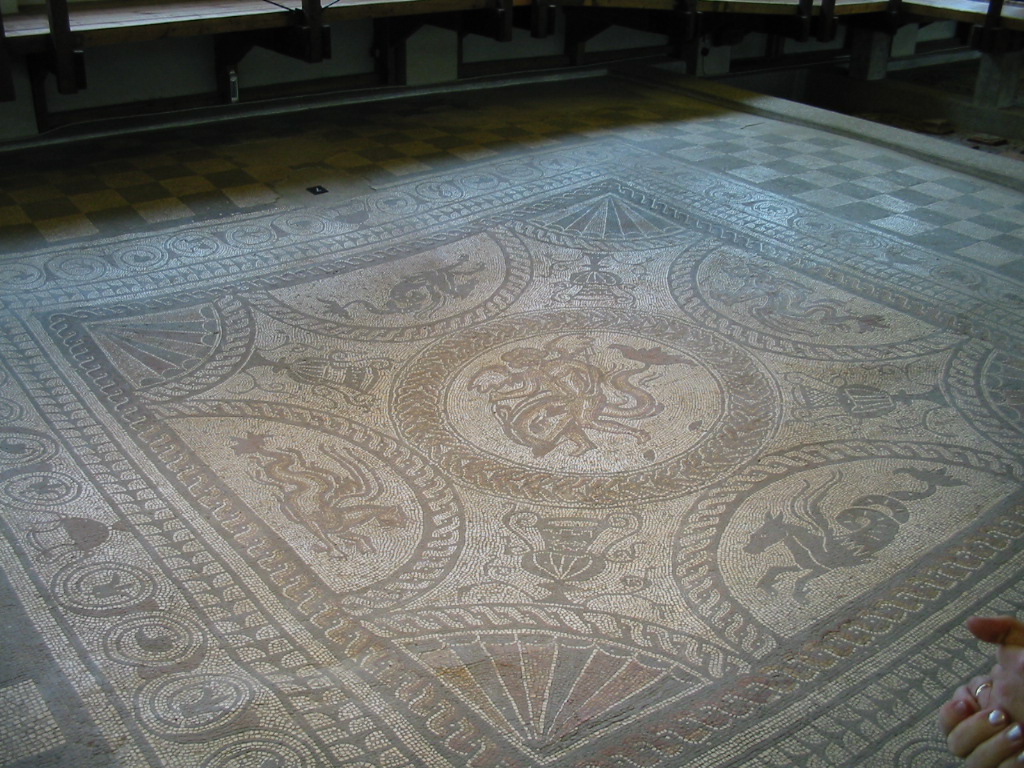
The "Cupid on a Dolphin" Mosaic |
 |
 |
| An overview of the mosaic |
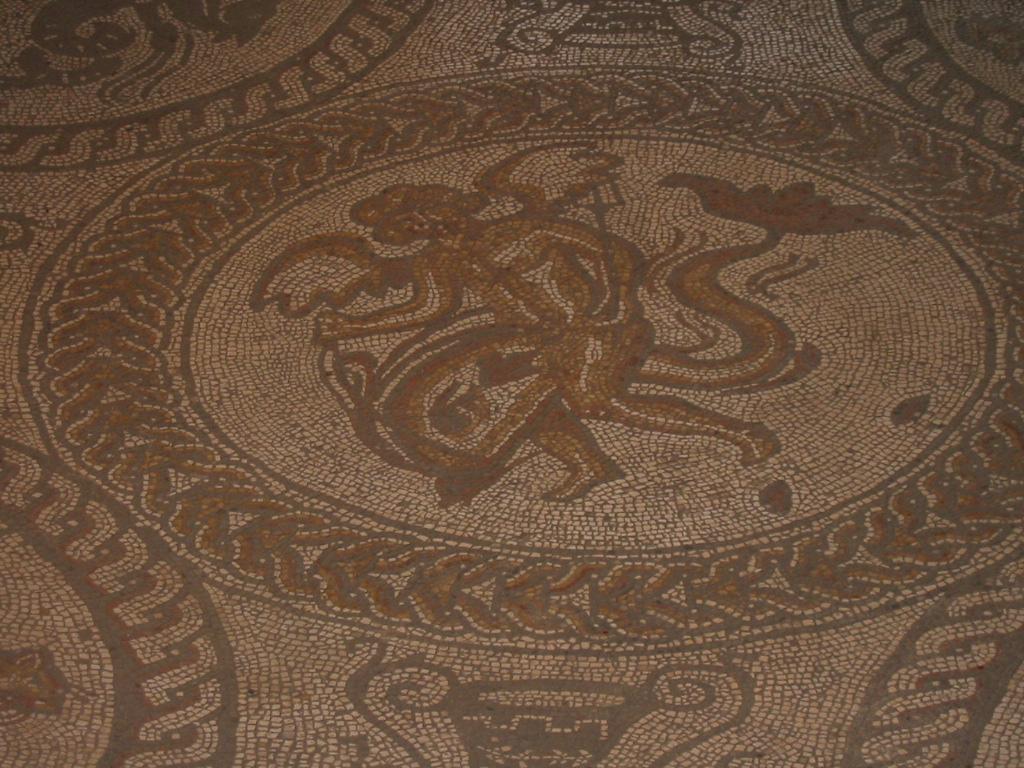
Detail of the central "Cupid on a Dolphin" motif |
 |
 |
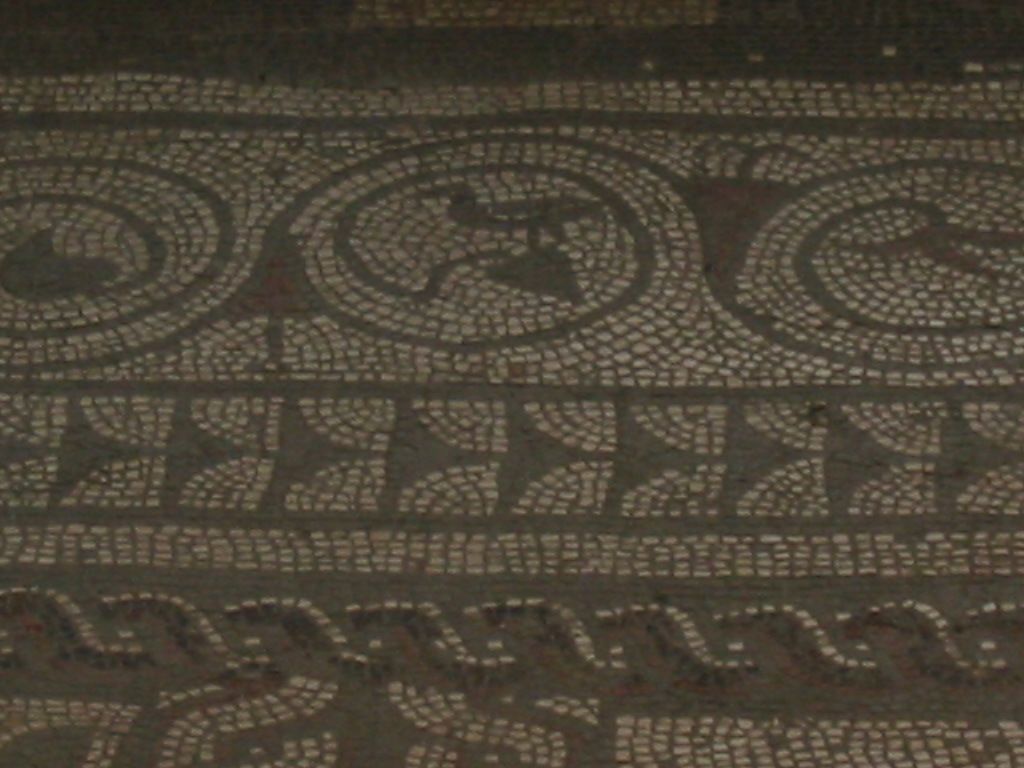
| A bird in the border, believed to be the mosaicist's signature |
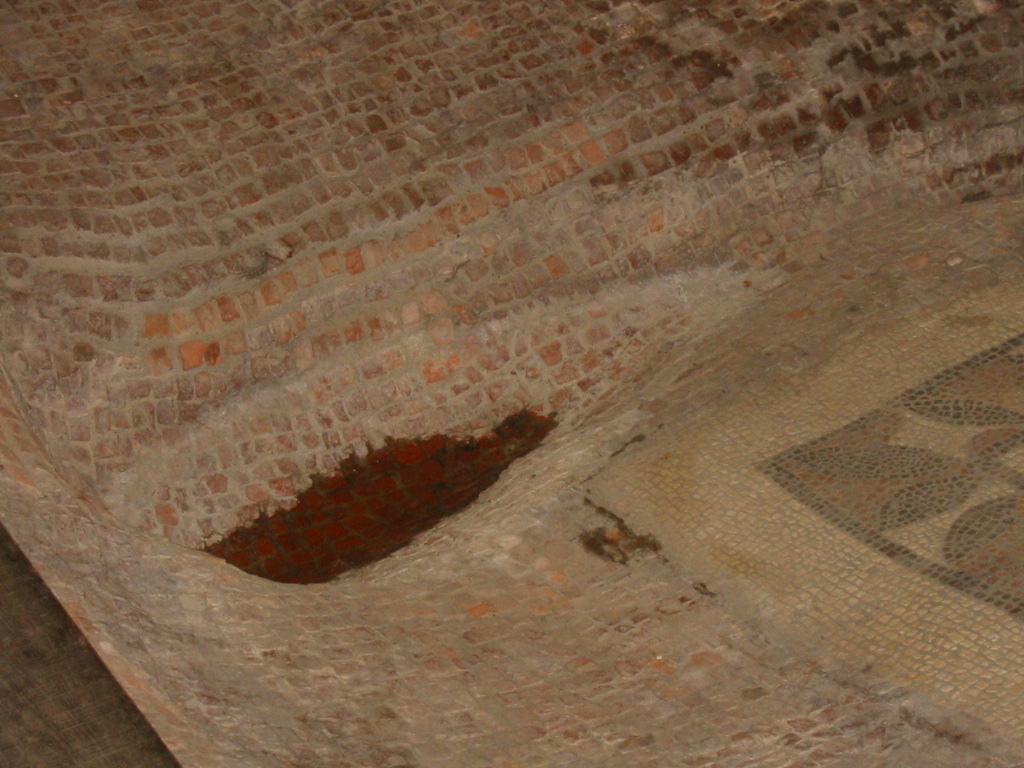
Despite laying nearly half a metre of rubble beneath the mosaic, it has still subsided |
Miscellaneous Pictures |
 |
 |
| Looking along the north wing shows the scale of the palace, there is a further building beyond the far wall of the modern cover-building |
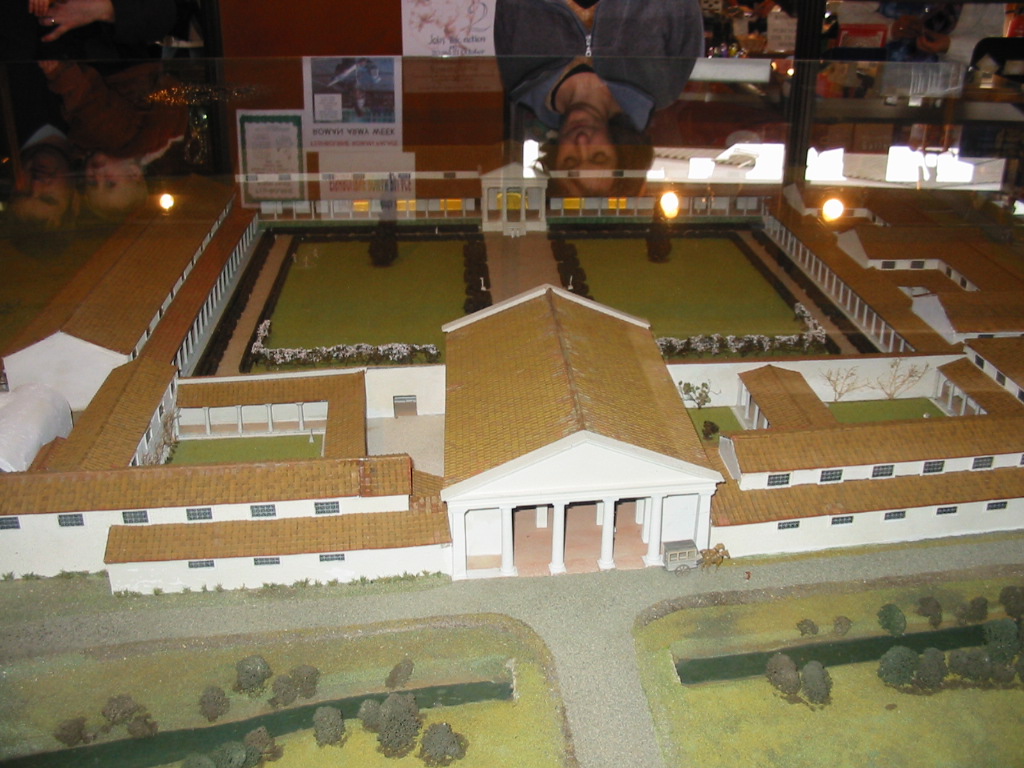
A model of how the palace may have looked, the North Wing is the one on the right. |
 |
| The imposing East Wing of the palace, as it may have appeared to a contemporary Briton approaching from Chichester |
 |
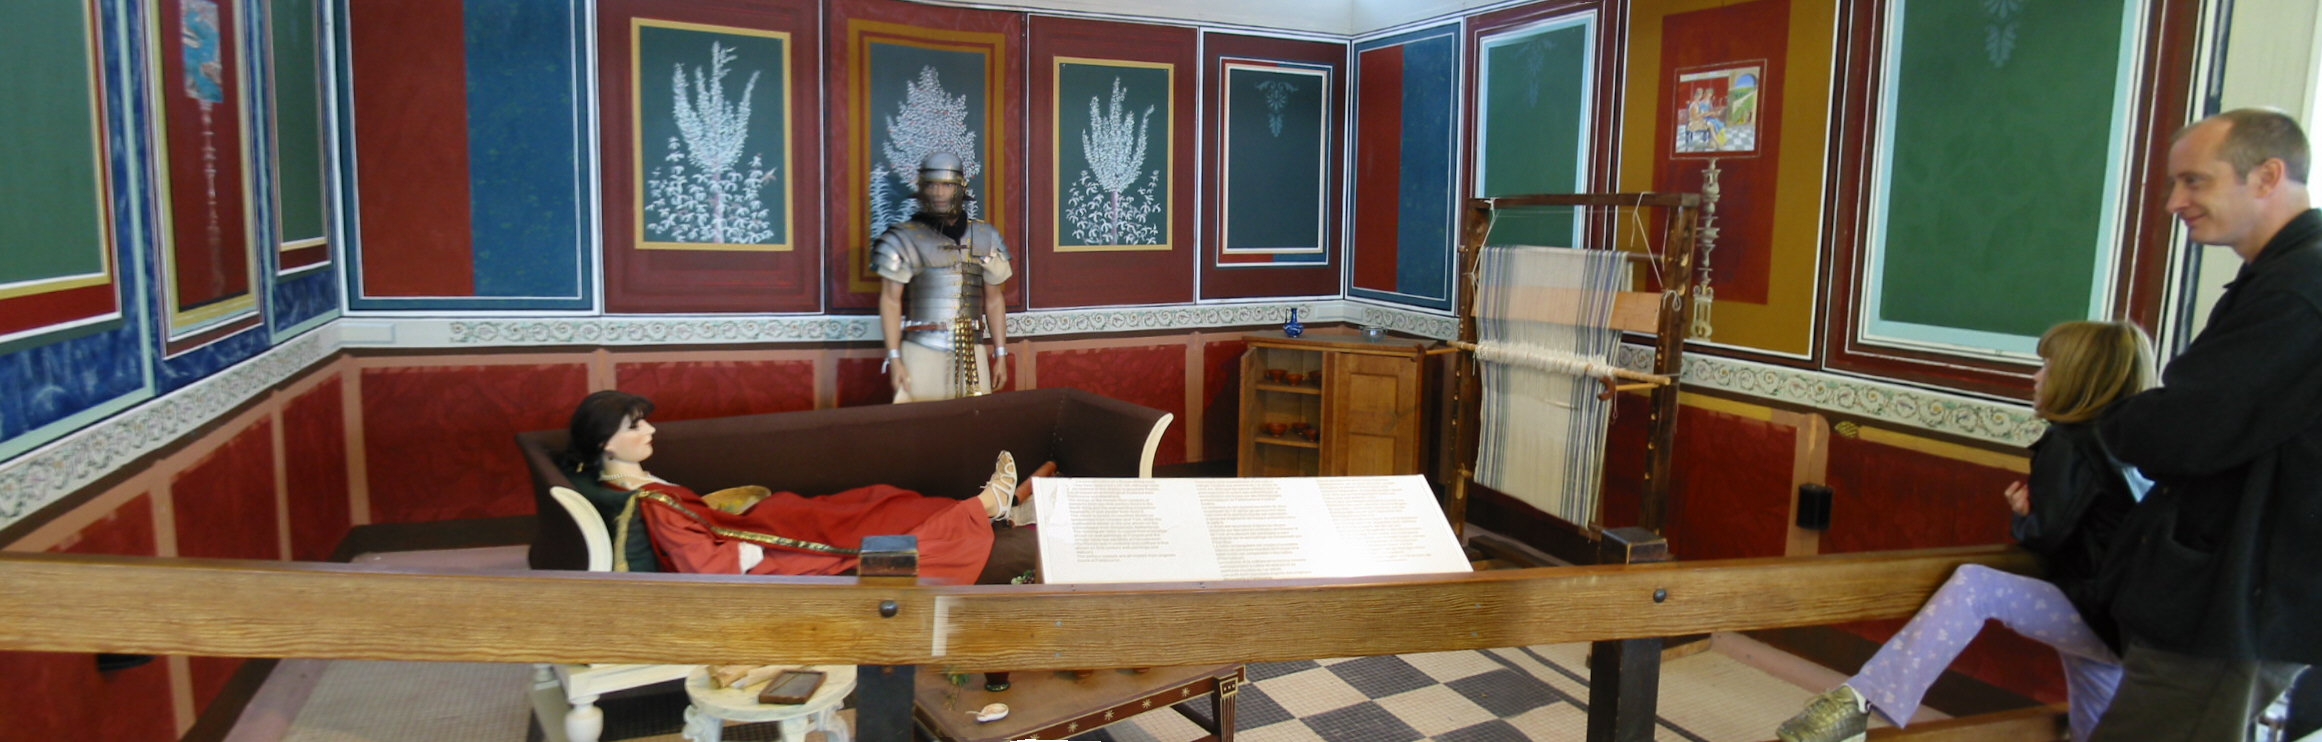
| Sir Mark and Princess Emily looking at a reconstructed room from the palace |
 |
 |
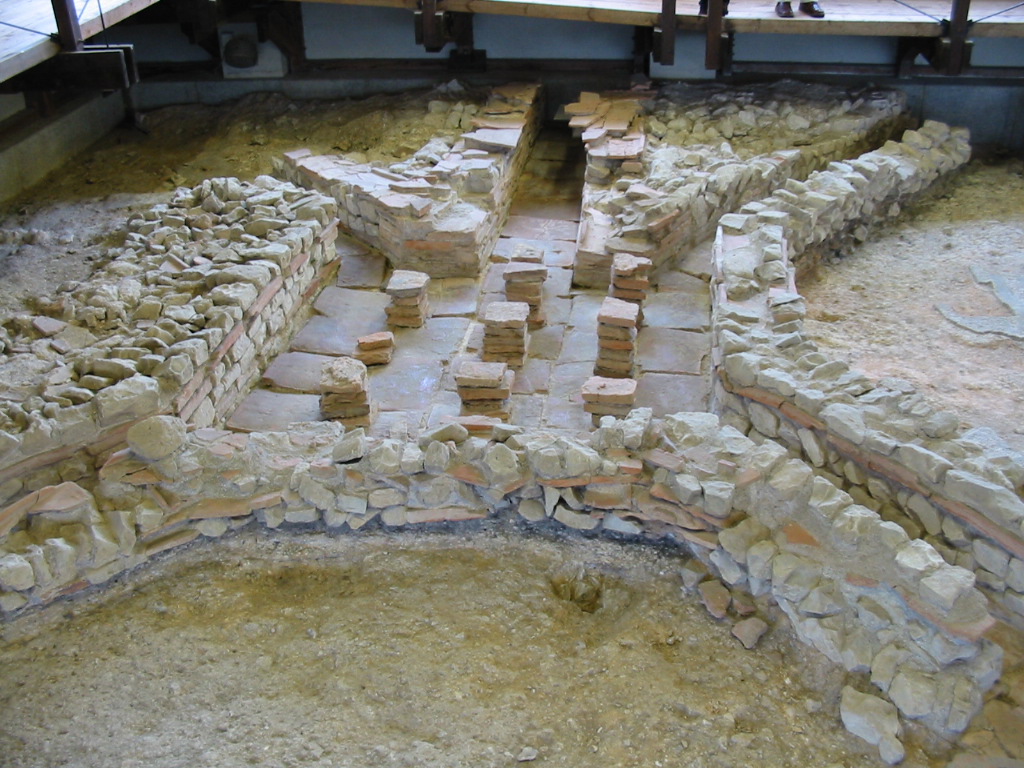
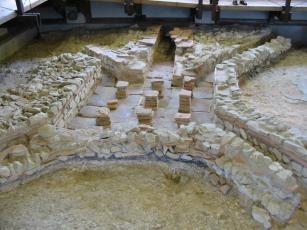
| The excellently preserved, but never completed hypocaust |
Damage from the fire in the late 3rd Centuary which led to the abandonment of the palace |
Photos from Chichester Cathederal |
 |
 |
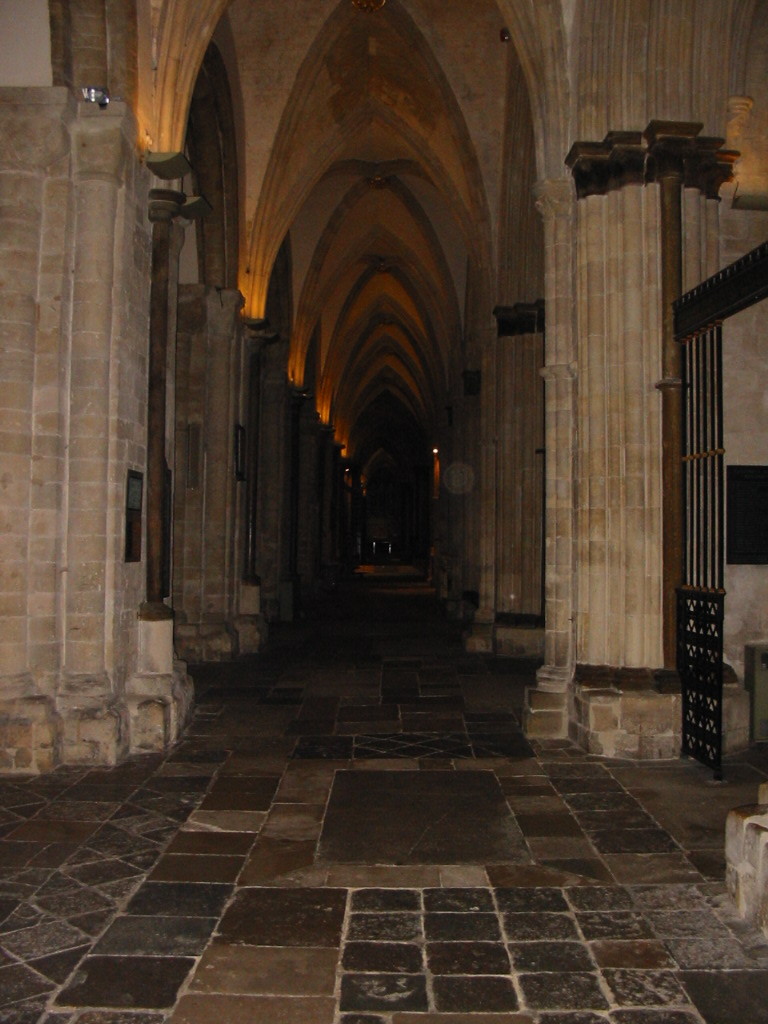
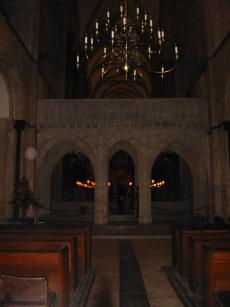
| Looking East along the South Aisle |
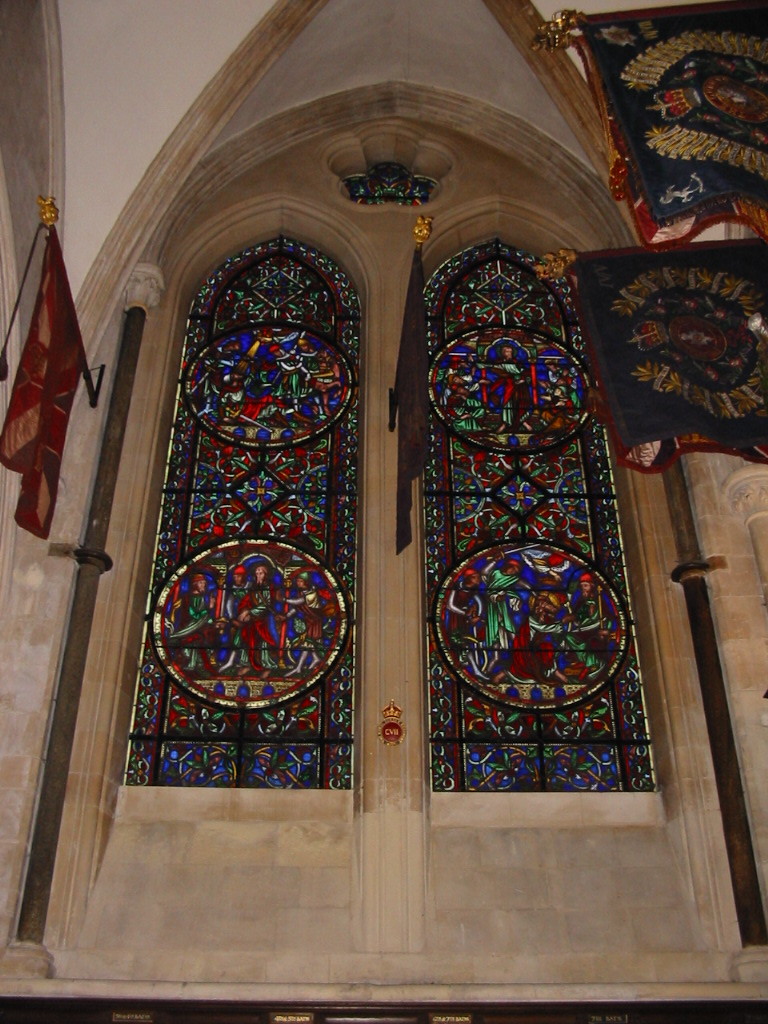
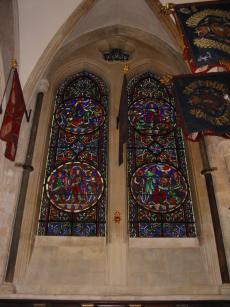
A stained glass window in the Chappel of St George |
 |
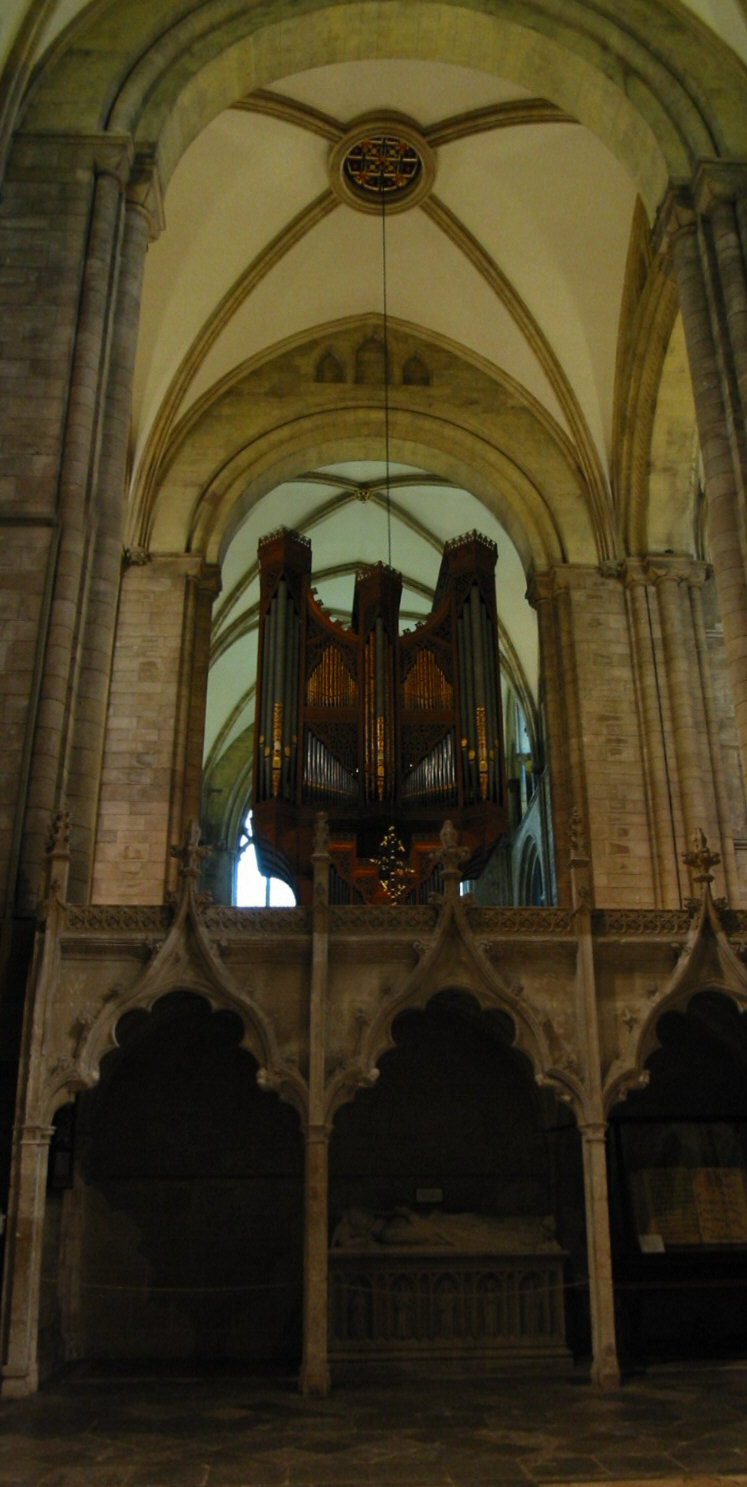
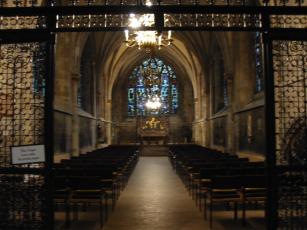
| A view of the Quire, including the organ, from the South Tanscept |
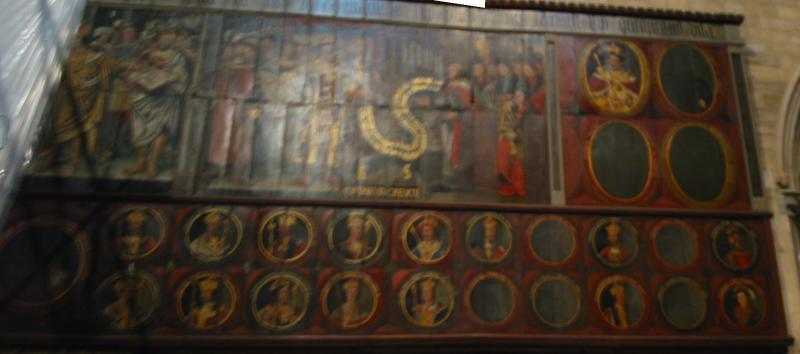 |
| 16th Centuary paintings in the South Transept, showing St Wilfred receiving a grant of land at Selsey from Caedwalla, King of Wessex, on which to build a church; and Henry VIII giving an assurance of the rights of the Cathederal to Bishop Sherburne |
 |
 |
 |
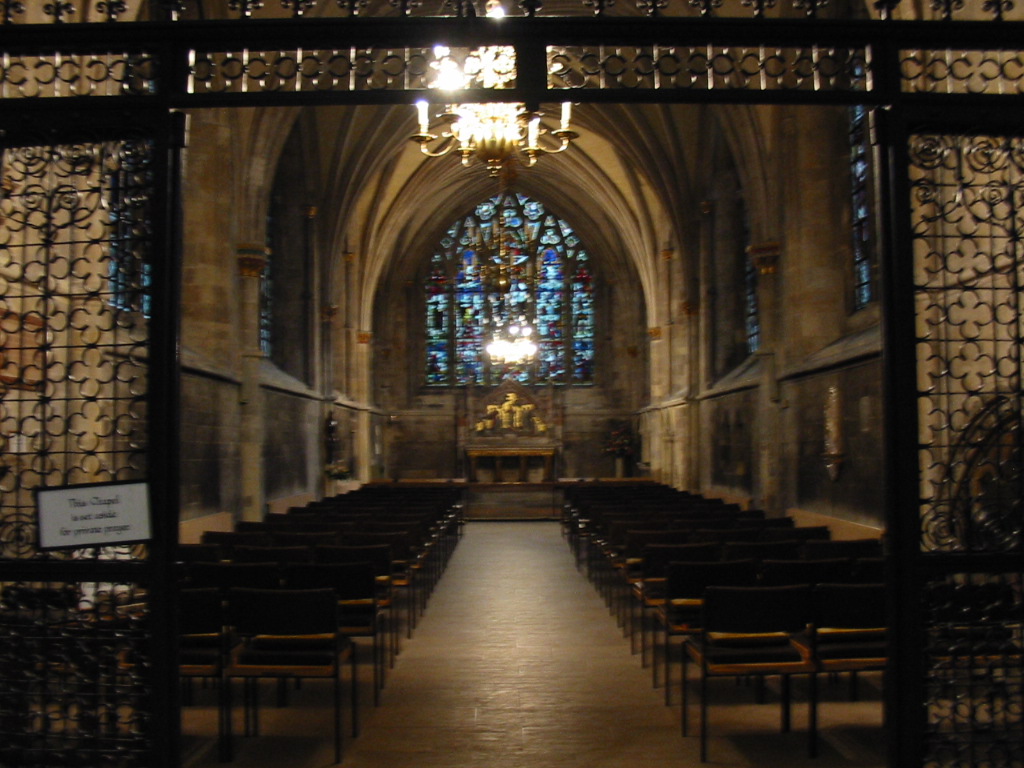
| The Lady Chappel |
The impressive Bell-Arundel Screen, said to have been erected by Bishop Arundel (1459-1478) |
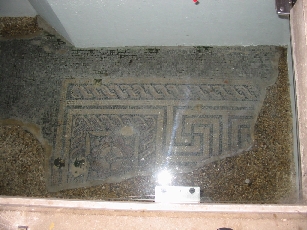
A mosaic discovered beneath the floor of the Cathederal |